Achieving a smooth finish when applying putty paint is essential for any painting project, whether you're refreshing a room or giving a new look to furniture. Putty paint, known for its thick consistency, helps fill in imperfections on surfaces, making them smooth and ready for the final paint coat. In this article, we will explore the essential application techniques and paint application methods to ensure your project has a flawless finish.
Before diving into the application process, it’s important to understand what putty paint is and why it’s used. Putty paint is a thick, paste-like substance that is applied to surfaces to smooth out imperfections such as cracks, dents, or uneven textures. It provides a solid base for the paint to adhere to, resulting in a more professional-looking finish.
Preparing Your Surface
Preparation is key to achieving a smooth finish with putty paint. Here’s how to prepare your surface effectively:
Cleaning the Surface
Start by cleaning the surface thoroughly. Remove any dirt, dust, or grease that might interfere with the putty's adhesion. A simple mixture of soap and water will suffice for most surfaces. For tougher grime, consider using a mild detergent or a commercial cleaner.
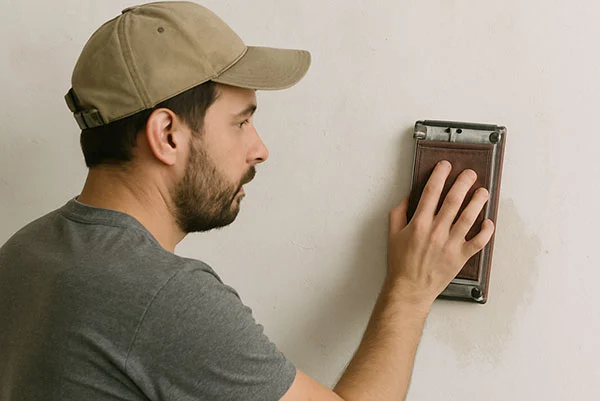
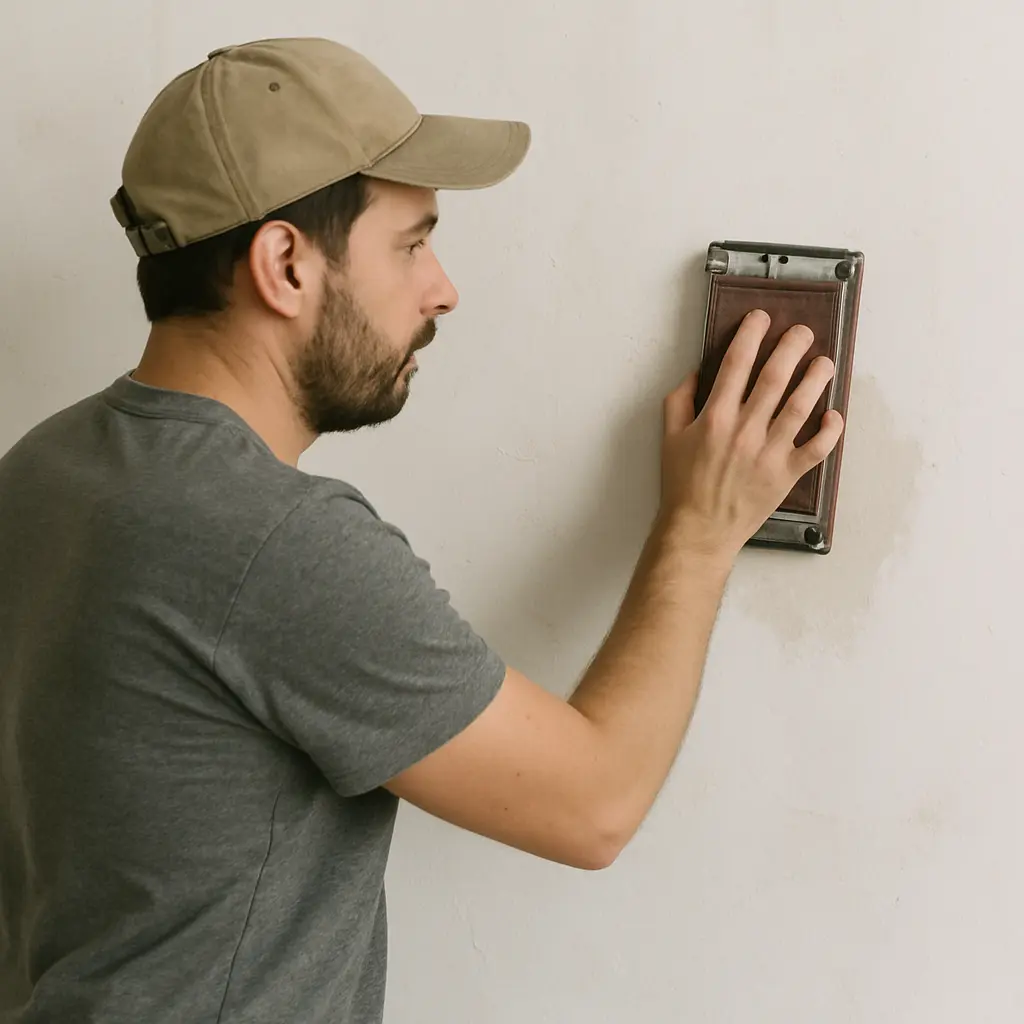
Sanding the Surface
After cleaning, sand the surface with medium-grit sandpaper to create a rough texture that will help the putty adhere better. Be sure to sand evenly across the entire surface to avoid any inconsistencies in the finish.
Repairing Major Imperfections
Before applying putty paint, inspect the surface for major imperfections such as holes or deep cracks. Use a filler to repair these areas, allowing it to dry completely before sanding it smooth.
To learn more about latex paint and the additive Hydroxyethyl Cellulose (HEC), please click:Paints And Coatings
Applying Putty Paint
With your surface ready, it’s time to apply the putty paint. Follow these steps for a smooth application:
Choosing the Right Tools
To apply putty paint, you’ll need a putty knife or a trowel. These tools are ideal for spreading the putty evenly across the surface. For larger areas, a broad knife or a drywall knife can be more efficient.
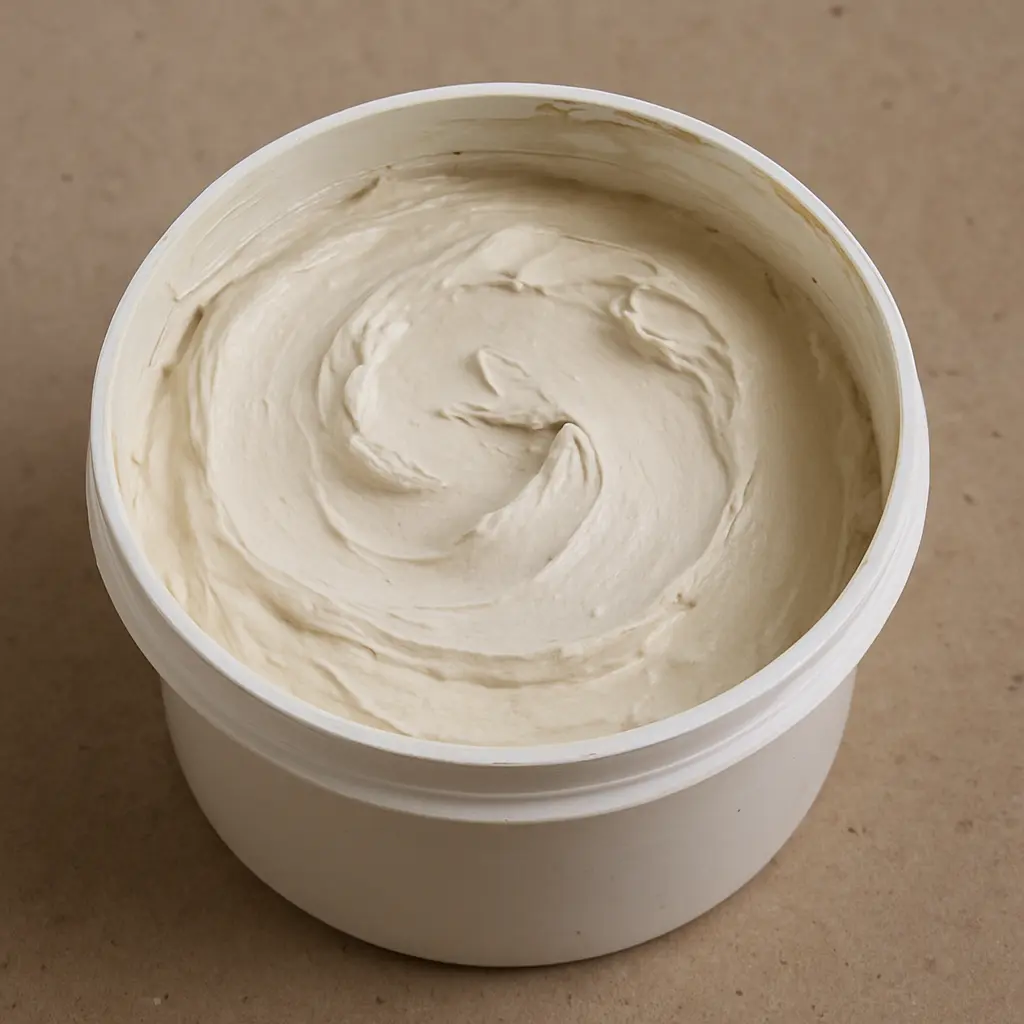
Mixing the Putty Paint
If your putty paint has been sitting for a while, it might need to be mixed to restore its consistency. Use a stir stick or a mixing paddle attached to a drill to mix the putty thoroughly.
Application Techniques
Start with a Small Amount: Scoop a small amount of putty paint onto your putty knife or trowel.
Apply Evenly: Begin applying the putty to the surface in a thin, even layer. Use smooth, overlapping strokes to cover the area. It’s better to apply multiple thin layers rather than one thick layer, which can lead to cracking or uneven drying.
Smooth the Surface: As you apply the putty, use your tool to smooth out any ridges or bubbles. The goal is to create as flat a surface as possible.
Feather the Edges: Pay attention to the edges of the putty application. Feathering the edges by applying less pressure as you reach the end of your stroke helps blend the putty into the surrounding surface.
Let it Dry: Allow the putty paint to dry completely. Drying time can vary based on the product, so check the manufacturer's instructions.

Finishing Touches
Once the putty paint is dry, a few finishing touches will ensure a smooth and professional finish.
Sanding the Dried Putty
Use fine-grit sandpaper to gently sand the dried putty. This step helps remove any minor imperfections and creates a perfectly smooth surface. Be careful not to sand too aggressively, as this can remove too much putty and expose the underlying surface.
Priming the Surface
After sanding, apply a primer to seal the putty and prepare the surface for painting. Priming ensures better adhesion of the final paint layer and enhances the durability of the finish.
Painting the Final Coat
Once the primer is dry, you’re ready to apply your final coat of paint. Use a brush or roller, depending on the size of the area, and apply the paint in even strokes. For the best results, consider applying two coats of paint, allowing each coat to dry completely before applying the next.
Tips for a Smooth Finish
- Work in Sections: If you’re working on a large area, divide the surface into smaller sections and tackle one at a time to maintain control over the application.
- Maintain Clean Tools: Keep your tools clean by wiping them regularly during the application process. This prevents dried putty from creating bumps on the surface.
- Mind the Temperature and Humidity: High humidity and extreme temperatures can affect the drying time and adhesion of putty paint. Aim for a stable, moderate climate when working on your project.
By following these application techniques and paint application methods, you can achieve a smooth finish with putty paint, ensuring your surfaces are beautifully prepared for painting. Whether you’re tackling walls, furniture, or other surfaces, the right preparation and application will make all the difference in the final result.
Posted by Melacollleave words
Hi, I'm Ella, I have been engaged in the cellulose ether industry for 12 years.

Leave a Reply