
The secret to a flawless, durable paint job lies beneath the surface - literally. Wall putty is vital in preparing interior and exterior walls by smoothing out imperfections and creating an ideal base for paint to adhere to. Understanding the purpose, types, and application methods of wall putty will make your projects twice as easy.
This guide provides a detailed overview of wall putty types, benefits, and application methods, helping you make informed purchasing and application decisions for superior project outcomes.
What Is Wall Putty?
Wall putty is a white, smooth, cement-based or acrylic-based powder used as a base coat on walls and ceilings before painting. It provides a smooth, even surface by filling in minor cracks and imperfections, improving paint adhesion, and extending the life of paint.
🔹Types of Wall Putty
There are two main types of wall putty:
1. White Cement-Based Wall Putty
- Composition: White cement, polymers, and mineral additives.
- Best For: Both interior and exterior walls.
- Features: Excellent bonding, water resistance, and durability.
2. Acrylic Wall Putty
- Composition: Water-based acrylic resins and fillers.
- Best For: Interior use only.
- Features: Smooth finish, easy to apply, quicker drying.
🔹Benefits of Wall Putty
- Smooth Finish: Provides a uniform and sleek surface for painting. Improves wall smoothness and durability.
- Paint Durability: Enhances the adhesion of paint and increases its lifespan.
- Water Resistance: Cement-based putty resists moisture and prevents wall dampness.
- Crack Filling: Fills hairline cracks and undulations in plastered surfaces.
- Cost-Effective: Reduces paint consumption and maintenance costs.
How to Apply Wall Putty (Step-by-Step)
Tools Needed:
- Putty knife or spatula
- Sandpaper
- Mixing bucket
- Brush or roller (for primer)
Application Steps:
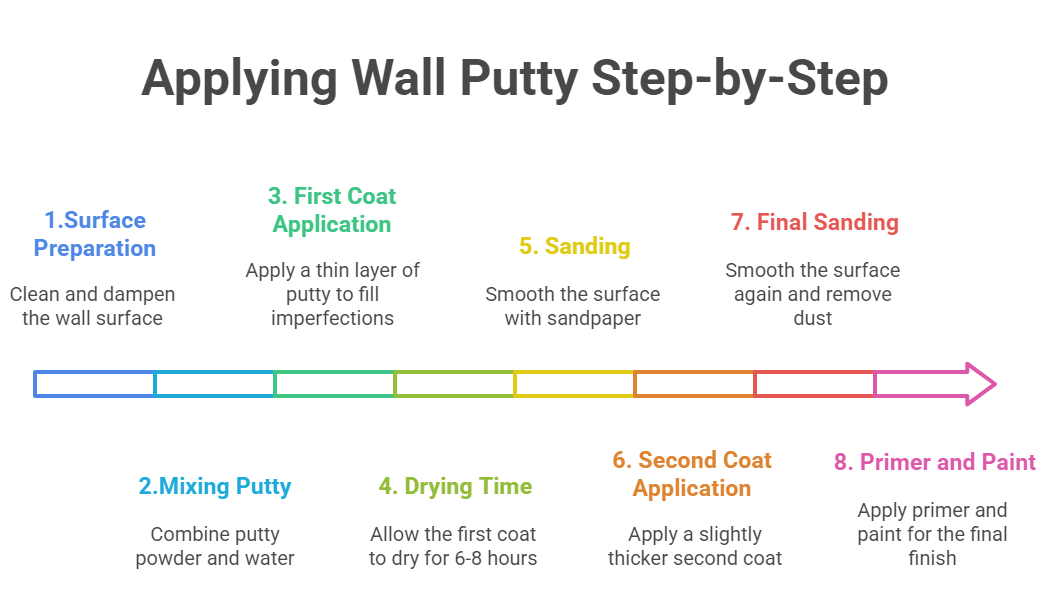
Step 1: Surface Preparation
- Clean the wall thoroughly—remove dust, grease, and loose particles.
- Ensure the surface is damp but not wet.
Step 2: Mixing
- Mix the wall putty powder with clean water in a 2:1 ratio (as per the manufacturer's instructions).
- Stir continuously until you get a smooth, lump-free paste.
- Let it sit for 5-10 minutes before application.
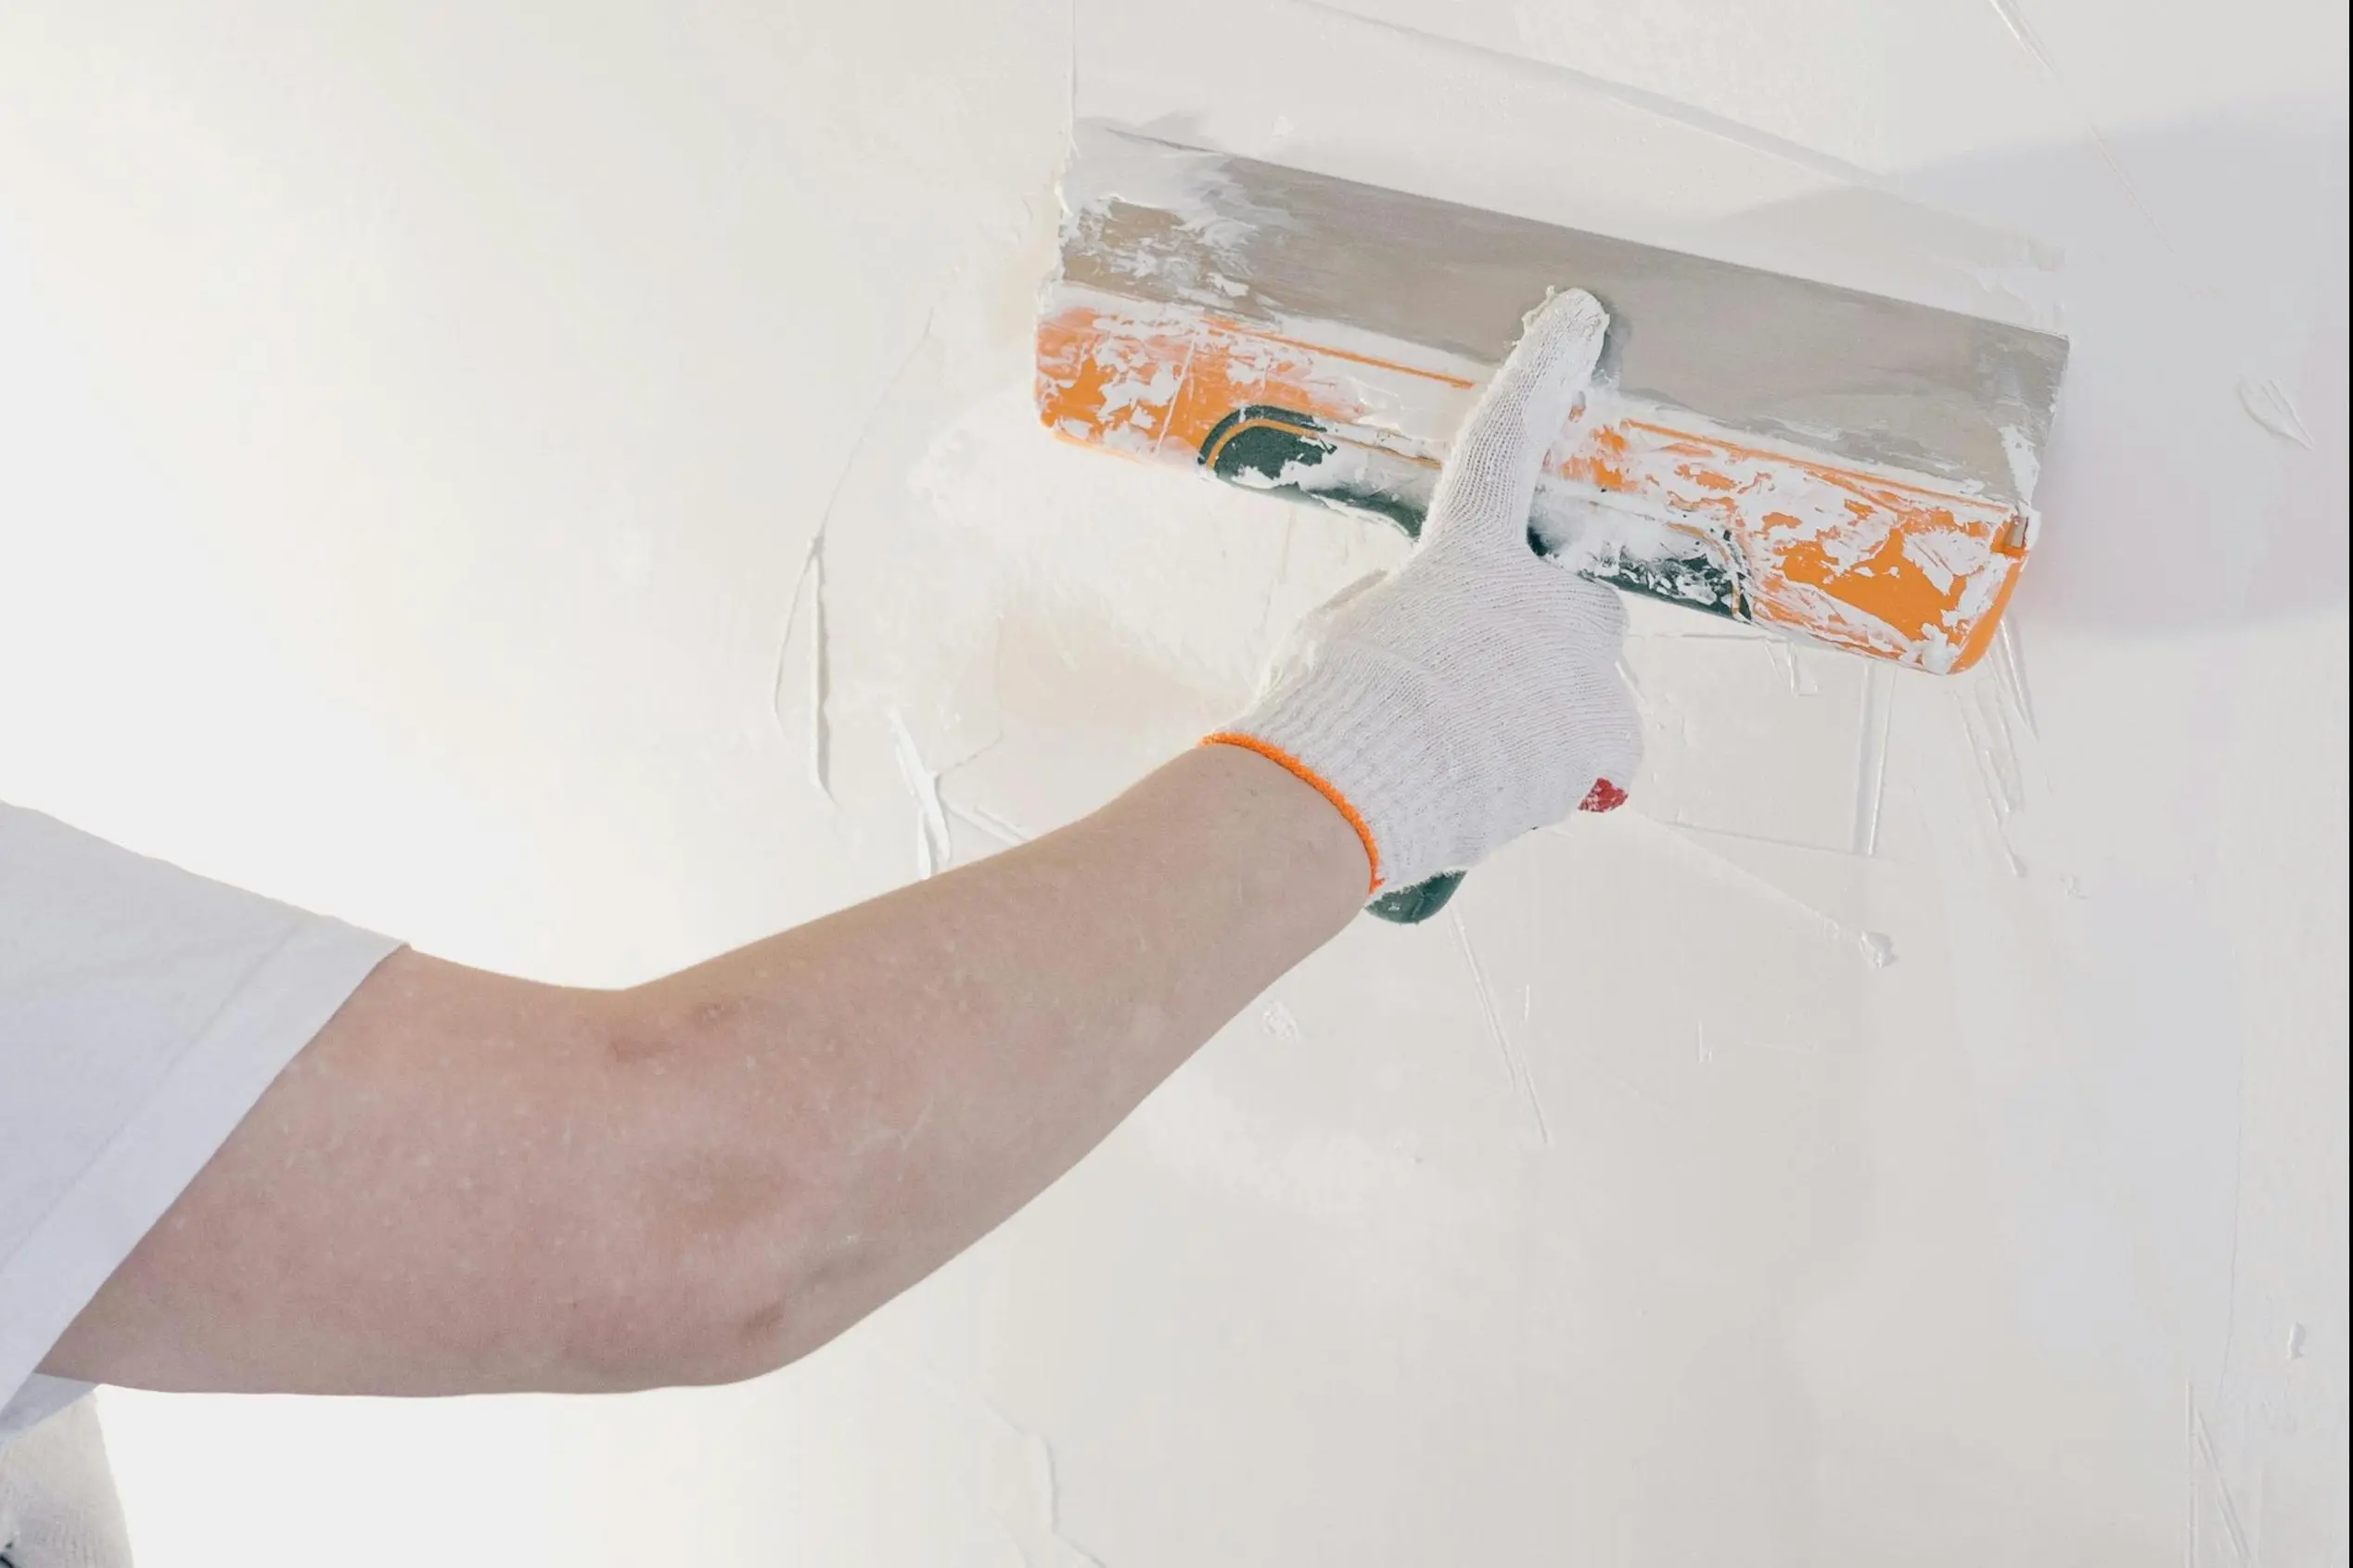
Step 3: First Coat Application
- Apply the first coat using a putty knife: keep it thin, just enough to fill small dents and imperfections in the wall (about 1mm thick). Hold the trowel at a 45-degree angle and apply even pressure, working from top to bottom and left to right for smooth, consistent coverage.
- Let it dry for 6–8 hours.
Step 4: Sanding
- Once dry, sand the surface lightly with 180–220 grit sandpaper for smoothness.
Step 5: Second Coat Application
- Apply a second coat for a finer finish. The second coat of putty can be slightly thicker than the first coat, with a thickness of 1 - 2mm.
- Let it dry completely.
Step 6: Final Sanding
- Smooth the surface again and remove all dust before painting.
Step 7: Primer and Paint
- Apply a primer suitable for the paint type before starting the final painting.

Tips for Best Results
Surface Preparation Is Critical: Remove dust, dirt, and loose material. Ensure the wall is clean and slightly damp.
Mix Properly: Use the recommended water-to-putty ratio. Mix until smooth and lump-free.
Apply Thin Coats: Spread a thin, even layer with a putty knife. Avoid thick applications.
Allow to Dry: Let each coat dry for 6–8 hours before sanding or recoating.
Use Fresh Mix: Use mixed putty within 2–3 hours. Do not reuse hardened material.
Primer Must Follow Putty: Once the final coat is fully dry and sanded, apply a suitable primer before painting. Skipping this step may reduce paint adhesion and affect color uniformity.
Safe: Use protective gloves and eyewear during application.
Enhancing Wall Putty Performance with Quality Additives
To achieve optimal performance, the formulation of wall putty often includes functional additives that improve workability, adhesion, water retention, and long-term durability.
At Mikem, we offer high-quality construction-grade additives that help manufacturers and contractors produce superior wall putty:
- Hydroxypropyl Methyl Cellulose (HPMC): Acts as a thickener and water-retaining agent. Our HPMC ensures that wall putty remains workable for longer, reducing early drying and surface cracks while enhancing strength.
- Hydroxyethyl Cellulose (HEC): Ideal for water-based putty systems, Mikem’s HEC improves viscosity and surface smoothness, helping the putty adhere better and spread more evenly.
- Re-dispersible Latex Powder (RDP): Mikem’s RDP enhances flexibility and adhesion, which helps the putty bind effectively to various substrates. It also contributes to abrasion resistance and prevents common problems like peeling and cracking. RDP also works for EIFS siding and tile adhesive.
- Silicone Hydrophobic Powder (SHP): For added water resistance, our SHP gives wall putty long-lasting hydrophobic properties without affecting its ease of application. This helps protect painted surfaces from dampness and mold.

Final Thoughts
Wall putty might seem like a simple product, but it plays a crucial role in ensuring a beautiful, long-lasting finish on your walls. Behind that smooth surface is a smart blend of materials—each with a specific role to play.
At Mikem, we specialize in supplying high-performance raw materials. Our HPMC, HEC, RDP, and SHP products are carefully formulated to help you create reliable, easy-to-apply, and durable wall putty that meets the demands of modern construction.
If you're developing or improving a wall putty product, we’re here to help with both quality ingredients and technical support. Contact us anytime.
FAQs About Wall Putty
1. Can I paint directly over the wall putty?
No. You should apply a primer over the dried putty before painting.
2. Is wall putty waterproof?
Cement-based putty offers water resistance but is not 100% waterproof. For wet areas, additional waterproofing treatments may be required.
3. Can wall putty be used to fix deep cracks?
Wall putty is best for minor surface imperfections. For deeper cracks, use a crack filler or cement mortar first.
4. How long should I wait before painting?
Wait at least 24 hours after the final putty coat for full curing.
5. What’s the shelf life of wall putty?
Typically, 6–12 months from the manufacturing date if stored properly.
Posted by Melacollleave words
Hi, I'm Ella, I have been engaged in the cellulose ether industry for 12 years.

Leave a Reply